

A crack sensor measures the displacement transferred through its mounting arrangement. If a fixing comes loose or the substrate deteriorates, the recorded change may no longer represent the phenomenon you intended to observe. Installation preparation is therefore part of measurement quality.
This checklist helps organise installation and commissioning. It supplements the instructions for the selected equipment; fixings, drilling and work on the structure must be specified and authorised by the people responsible for the project.
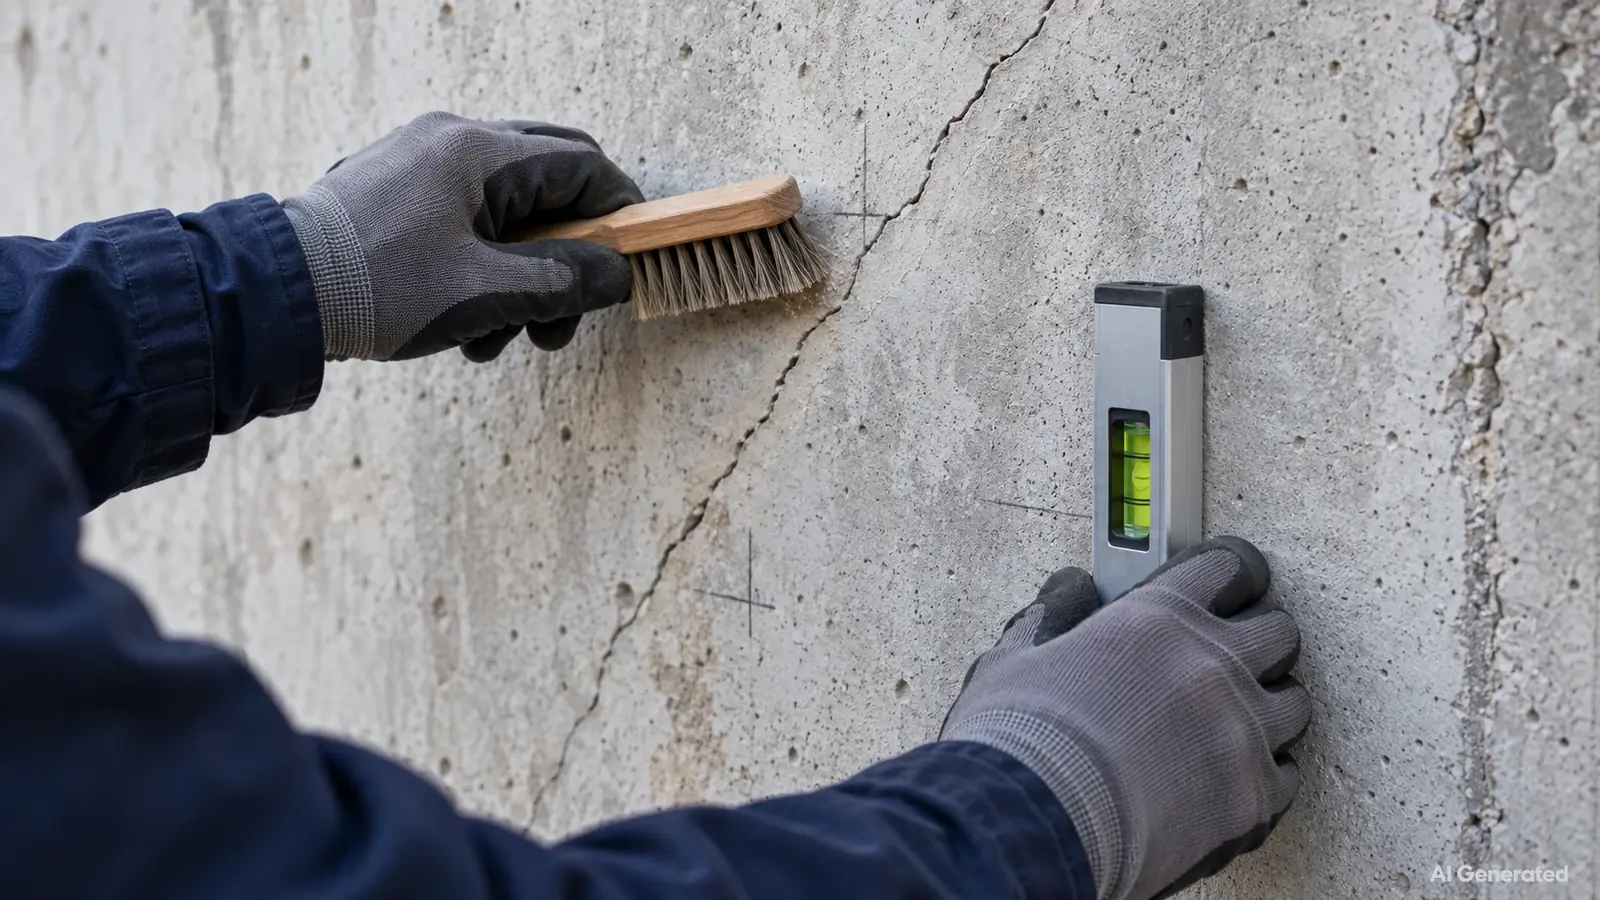
01 Confirm the monitoring point and direction
Identify the point on a drawing or an annotated photograph. Describe the movement required and the direction in which the sensor must measure it. For an opening measurement, the installation must transfer the intended component without confusing it with sliding or out-of-plane movement.
A crack may have complex geometry or behave differently at different locations. The number of monitoring points follows from the monitoring objective. Our guide to choosing a wireless crack monitor helps check whether the proposed device suits the requirement.
02 Examine the substrate before fixing
Look for loose material, detached finishes, moisture and irregular surfaces. Check that the fixing points will transfer the movement of the elements being monitored. Mounting on a finish that moves independently of its substrate can result in measuring that finish rather than the intended structure.
Choosing adhesive bonding, mechanical fixings or dedicated accessories depends on the material, environment and manufacturer’s instructions. Follow the preparation requirements and, for adhesives, the specified curing time. A method documented for one particular gauge should not automatically be applied to another sensor. S9
03 Check alignment and available travel
Before final tightening, check freedom of movement, the initial position and the available displacement margins. Avoid an arrangement that applies unintended side loads, restricts a joint or places the sensor close to an end stop.
The starting position must accommodate expected movement in the relevant directions. Setting a software zero does not create additional mechanical travel. Record the initial position and the conventions adopted for positive and negative movement.
04 Protect the complete installation
Route cables and connections so they do not pull on the sensor. Examine risks from impact, snagging, runoff and direct exposure. Any added protection must preserve freedom of movement and the access required for maintenance.
Check every component’s environmental suitability, including accessories. The enclosure’s ingress-protection rating alone does not establish the performance of the complete installation. A mechanical cover must not become an unintended connection between the two sides being measured.
05 Test acquisition and transmission
Check the sensor identifier, unit, timestamps and configured intervals. Confirm that a plausible reading can be obtained and retrieved through the intended access method. Carry out the radio test in conditions representative of the final installation position.
A communication test confirms a transfer at that moment, not permanent network availability. Also document the expected response to interruptions and how continued access to data will be checked. Do not deliberately move the structure to create a test displacement.
06 Record the initial reference
Retain the first usable reading with its date, available environmental conditions and photographs of the installation. Record the equipment reference, settings and any departures from the intended configuration. This commissioning record will help explain the subsequent time series.
An initial reference describes a starting state. It does not certify structural stability and does not necessarily represent the absolute crack width. To prepare for data review, see our guide to organising readings and reviewing trends.
07 Plan the post-installation check
Define a project-appropriate check of fixing stability and the first readings. Record interventions, replacements and configuration changes. If a fixing moves, investigate the cause and document the repair before directly comparing readings from before and after the intervention.
ADVARNA crack monitoring solutions should be selected alongside their installation requirements. Prepare photographs of the location, substrate details and access constraints to clarify which equipment and accessories should be considered.
Prepare my installation project