

A hard-to-reach crack, several monitoring points or a programme of readings during construction work may justify using a wireless crack monitor. Selection starts with the movement to be measured and the conditions on site. Connectivity then determines how the data can be accessed to meet the project’s needs.
A suitable system combines the sensor, its mounting arrangement, data acquisition and transmission. The following questions will help you compare options for remote crack monitoring.
01 Define the movement you need to follow
Do you need to measure crack opening and closing, sliding between the two sides, or movement in several directions? A linear sensor measures displacement along its own axis. By itself, it does not describe every movement of the structure.
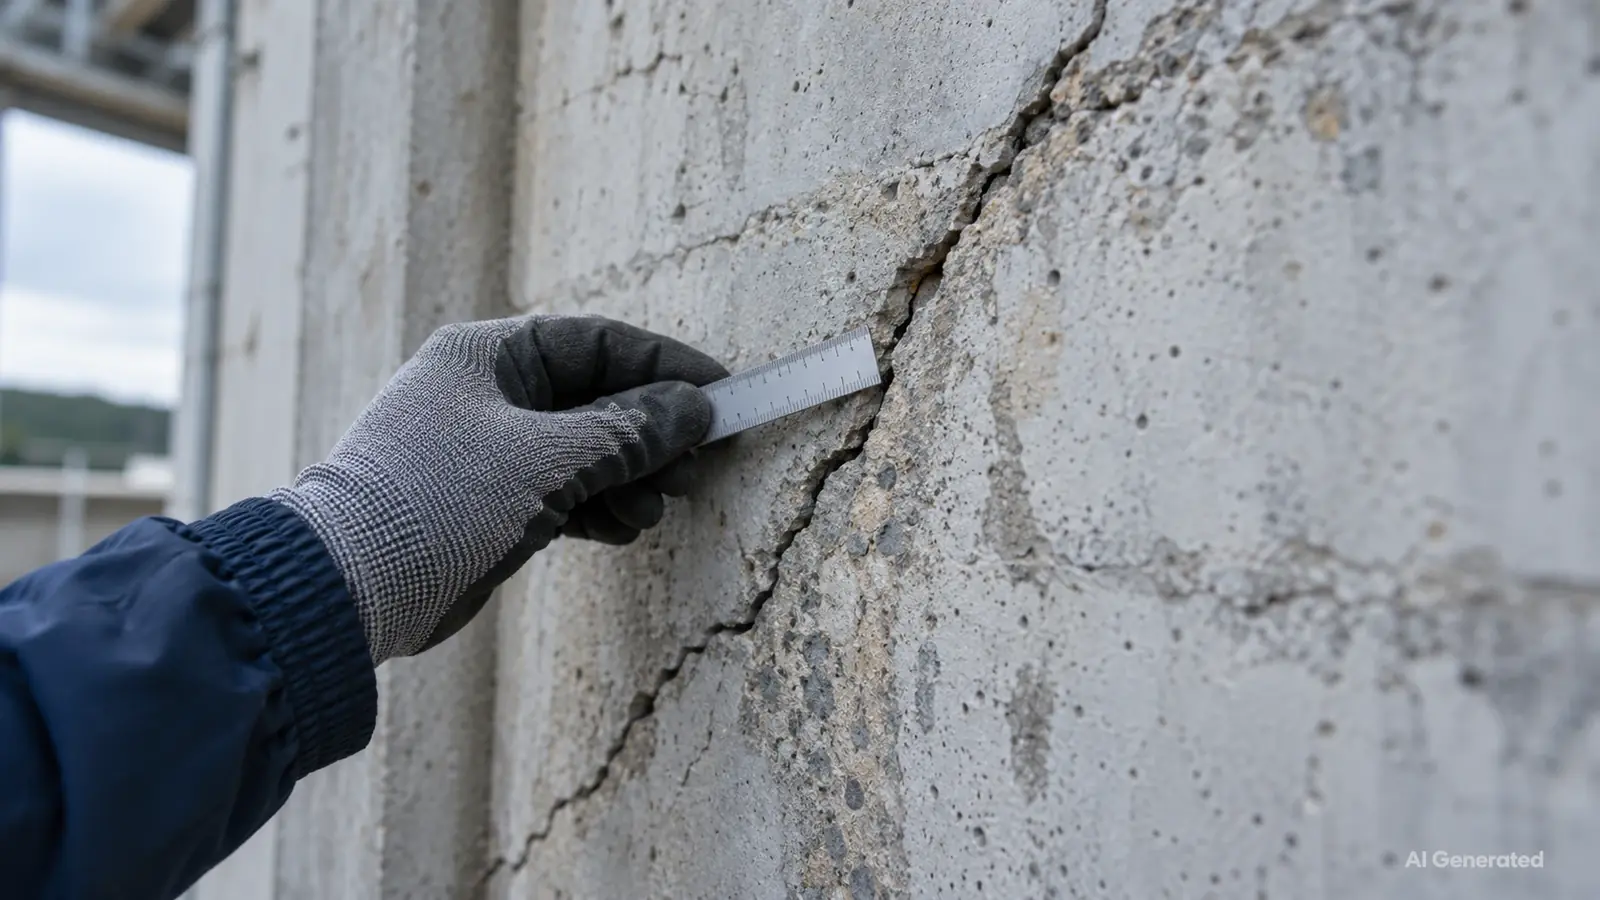
Identify the points between which the measurement will be made. Their location and the sensor’s orientation must address the engineering question. An overview photograph and a close-up help prepare the discussion, but do not replace the selection of monitoring points by the person responsible for instrumentation.
02 Choose the usable travel
The visible width of a crack is not the travel the sensor must accommodate. Distinguish the geometry required for mounting, the sensor’s initial position and the displacement range to be monitored.
Allow sufficient travel in the expected directions rather than starting at an end stop. A larger range is not automatically better: check measurement performance over the selected range and the mechanical compatibility of the installation.
03 Read performance figures with their conditions
Resolution describes how finely a change can be distinguished under particular conditions. It does not establish the possible error of the installed system. A specification for electronics alone does not necessarily describe the performance of a module connected to its displacement probe.
Compare units, measurement ranges, reference temperatures and the components covered by each specification. Our guide to understanding accuracy and resolution explains how to approach this. Ask which verification or calibration information is available for the selected configuration.
04 Examine mounting and exposure
A crumbling substrate, a fixing that comes loose or a cable under strain can compromise a measurement. Consider the material’s condition, access, water exposure, dust, sunlight and the risk of impact.
Assess the enclosure’s protection rating together with the connections and the associated sensor. It does not remove the need to follow installation instructions. For sensitive structures or locations that are difficult to reach, also establish the required permissions and working arrangements.
05 Separate measurement from transmission
The measurement interval determines when readings are taken. The transmission interval determines when data is sent. A system may measure more frequently than it transmits; check what is stored and which readings can actually be retrieved.
Assess radio coverage at the intended installation position. Depending on the ADVARNA configuration, available options include Sigfox, LoRaWAN or point-to-point LoRa. Explain your access, export and alerting requirements so that the services actually available can be confirmed. The ADVARNA cloud platform announced on the website remains under development.
06 Consider battery life and operation
A battery-life figure only makes sense alongside its stated operating conditions. Measurement frequency, transmissions, power supply and environmental conditions can affect maintenance needs. Check how a communication interruption or low power will be identified in the proposed configuration.
Budget for the whole measurement chain: equipment, accessories, installation, connectivity, data access and ongoing review. Clarify what is included, any renewals required and who will check the readings.
07 Prepare a useful enquiry
Bring together the structure type, the movement being monitored, the number of points, expected displacement, monitoring duration and access constraints. Add the measurement-performance requirements and any known connectivity options. If information is missing, identify it rather than choosing an arbitrary value.
You can then compare OBSESSIO X1, X2 and the PACK FISSURE against their respective configurations. Measurements provide observations about a crack’s behaviour; interpretation and decisions concerning the structure remain the responsibility of the professionals managing the project.
08 Prepare your measurement configuration
Send us the details of your structure and monitoring requirements. We can discuss which ADVARNA options to consider and which points need further clarification.
Describe my crack monitoring project